To start:
./client folder, then run.env file with the following content
export AUTH0_RUBY_CLIENT_ID=<Management API client ID>
export AUTH0_RUBY_CLIENT_SECRET=<Management API client Secret>>Now your humtum server should be running on localhost:3000
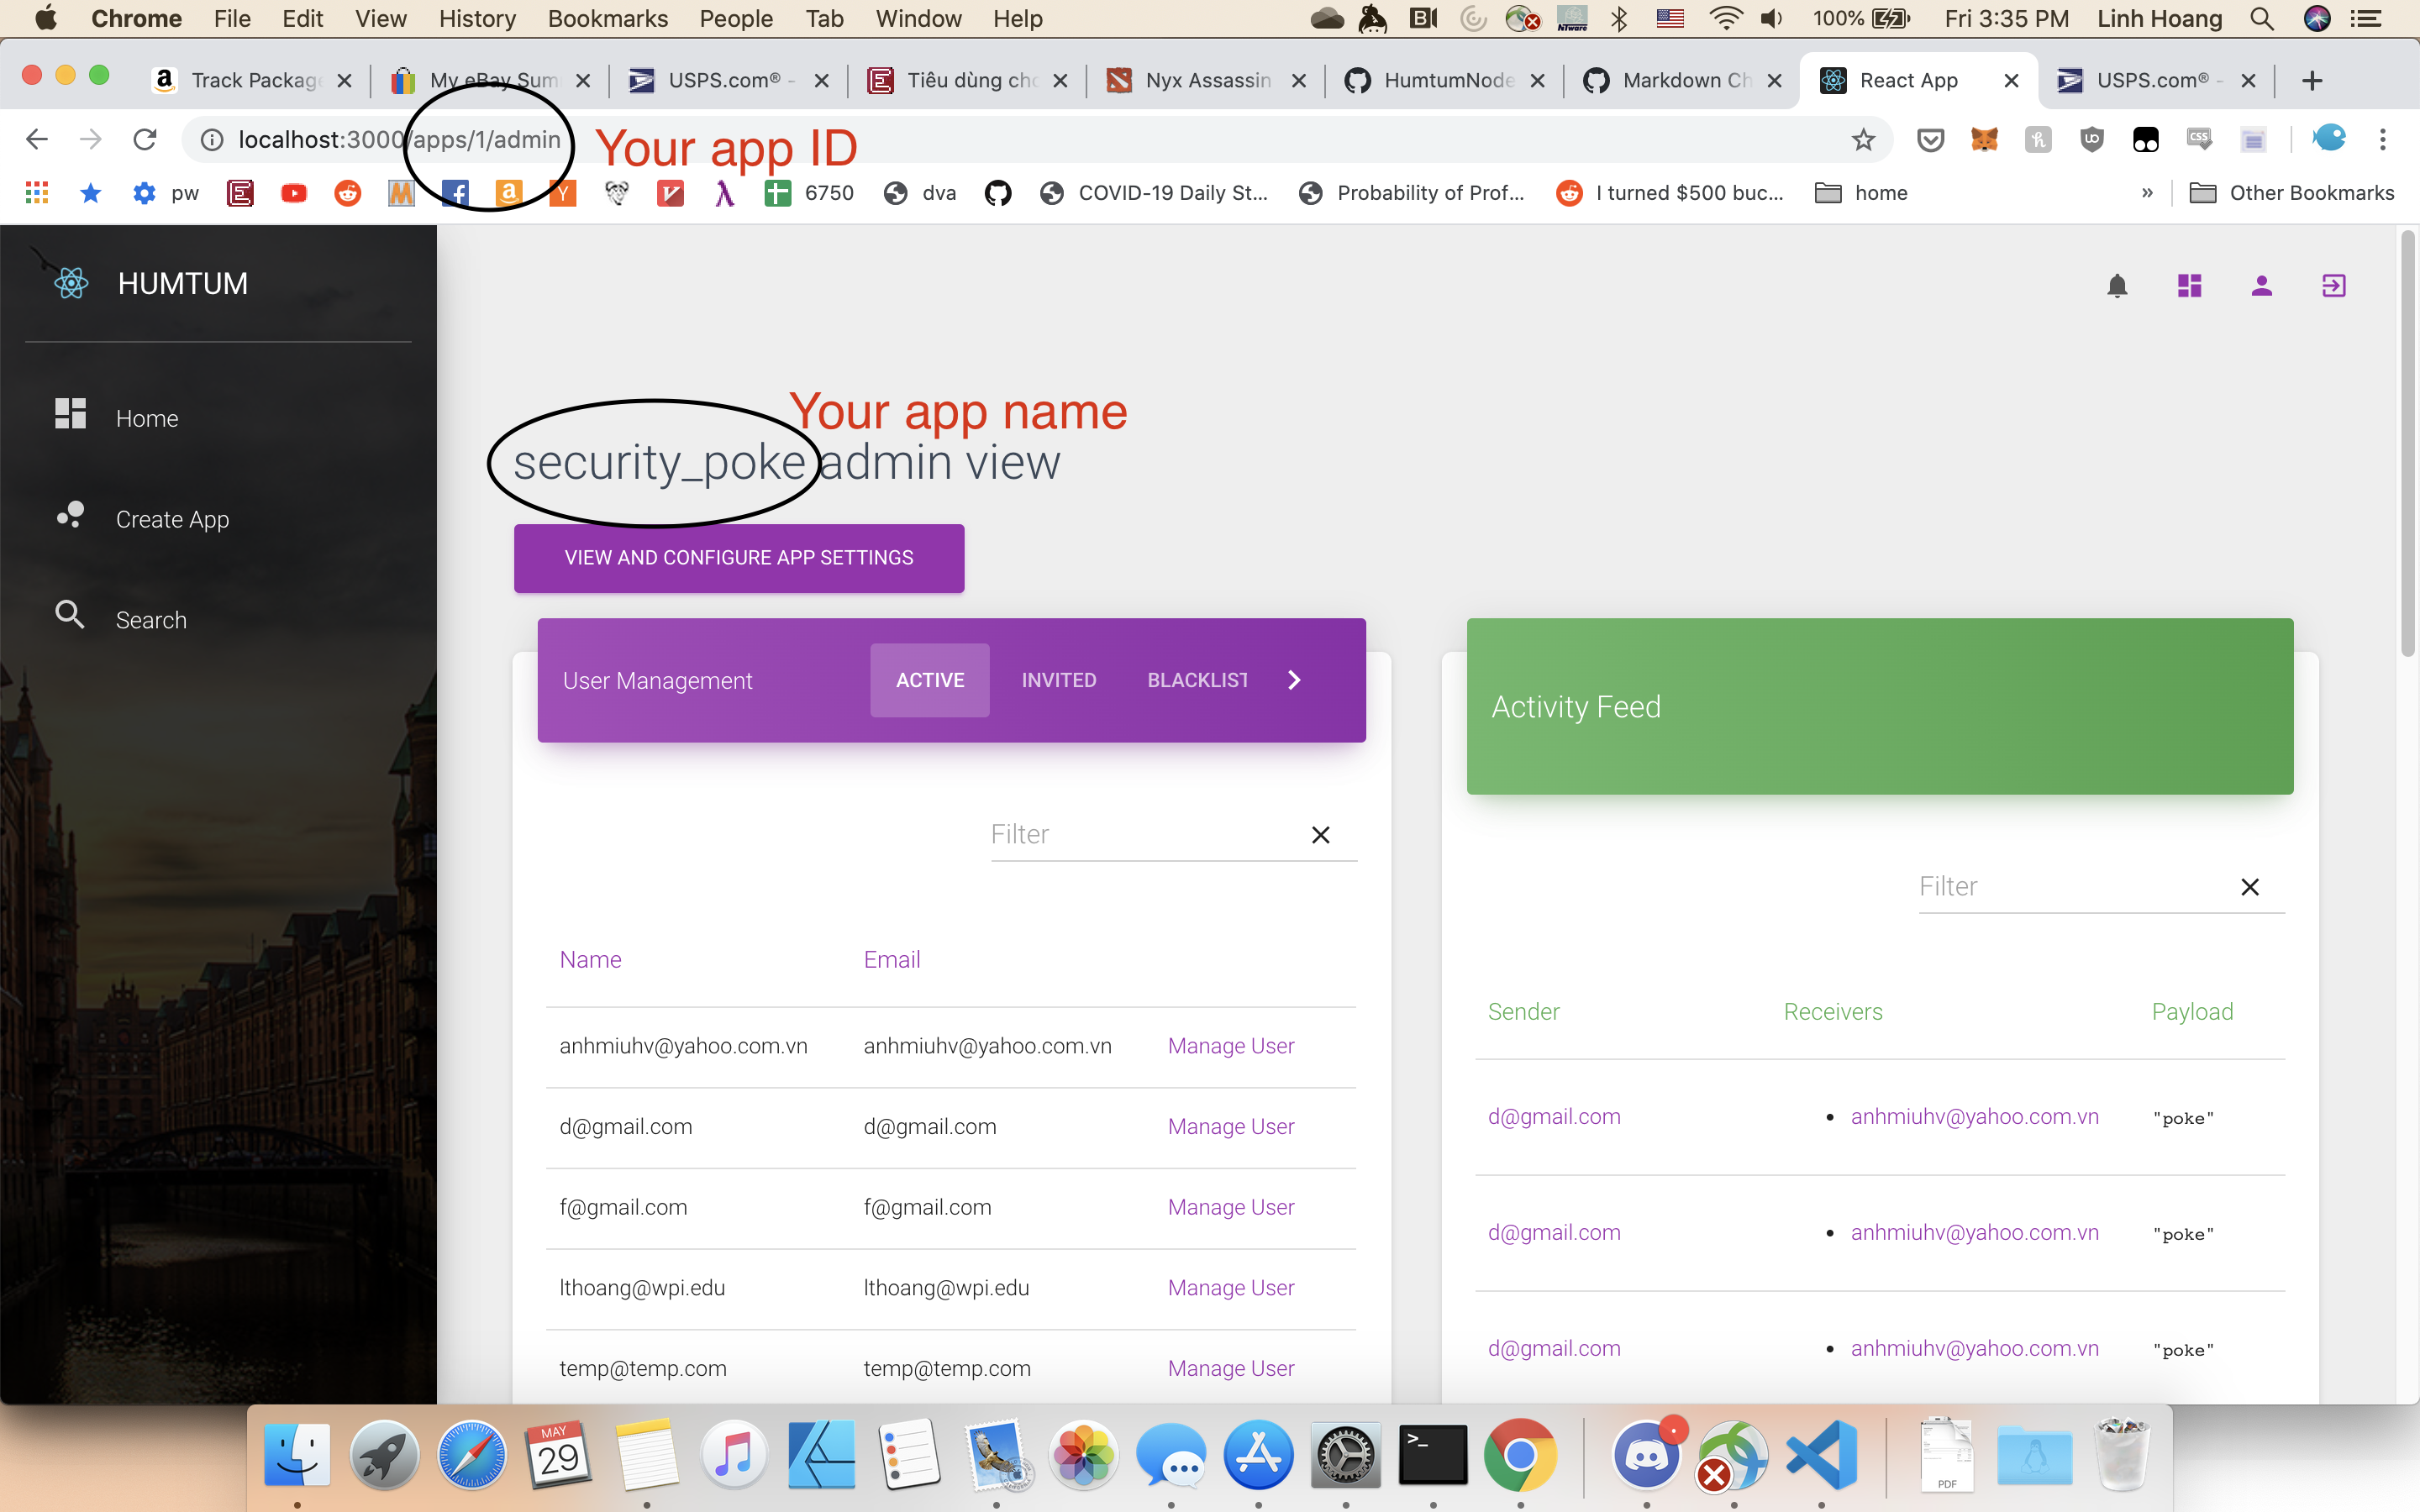
After creating the app, remember your app name and app id.
curl --location --request POST 'localhost:3000/clients' \
--header 'Content-Type: application/json' \
--data-raw '{
    "client_name": "Security poke",
    "redirect_uris": ["https://com.example.security-poke"]
}'{
"tenant": "humtum",
"global": false,
"is_token_endpoint_ip_header_trusted": false,
"is_first_party": false,
"oidc_conformant": true,
"callbacks": ["https://com.example.security-poke"],
"refresh_token": {
"token_lifetime": 2592000,
"leeway": 3,
"rotation_type": "rotating",
"expiration_type": "expiring"
},
"name": "Security poke",
"sso_disabled": false,
"cross_origin_auth": false,
"encrypted": true,
"signing_keys": "<keys>",
"client_id": "<Client ID>",
"callback_url_template": false,
"client_secret": "<Client Secret>",
"jwt_configuration": {
"lifetime_in_seconds": 36000,
"secret_encoded": false
},
"grant_types": ["authorization_code", "implicit", "refresh_token", "client_credentials"],
"custom_login_page_on": true
}Note: Our security poke example is a modification of this blog. Read the blog before continue with this tutorial.
security-poke folder. Run npm i to install all the dependencies.env-variables.json file for your application with the following{
"apiIdentifier": "com.humtum.api.<YOUR-APP-NAME>",
"auth0Domain": "humtum.auth0.com",
"clientId": "<YOUR-CLIENT-ID>",
"appId": "<YOUR-APP-ID>",
"redirectUri": "<one-of-YOUR-redirect-uris>"
}Note: Our app uses keytar to remember sensitive informations like the refresh token similar to the blog examples.
Our example uses the authorization code flow with pkce and refresh token rotation enabled. In fact, all the clients that register through Humtum Platform has Refresh Token rotation enabled.
For this authorization flow, we need to implement in ./services/auth-service.js the following functions:
getPKCEURLandSecret : returns the complete URL of the Authorization Server that users have to visit to authenticate and the PKCE secret for the PKCE flow.extractCode: extract the code and the secret from callback URL returned by the Authorization ServerexchangeCodeForToken: exchange the code from the Authorization Server for the access token and the refresh token. The refresh token needs to be stored securely on the device using keytarrefreshTokens: use the refresh tokens to get the new access tokenCode in ./main/auth-process.js show how to authenticate using these functions
// ./main/auth-process.js
const {BrowserWindow} = require('electron');
const authService = require('../services/auth-service');
const {createAppWindow} = require('../main/app-process');
const humtum = require('../services/humtum')
const envVariables = require('../env-variables');


let win = null;

function createAuthWindow() {
  destroyAuthWin();

  // Create the browser window.
  win = new BrowserWindow({
    width: 1000,
    height: 600,
  });
}

function authenticateUsingAuthWindow() {
  const { apiIdentifier, redirectUri } = envVariables
  const {
    url,
    secret
  } = authService.getPKCEURLandSecret({
    audience: apiIdentifier,
    scope: "openid email profile offline_access read:appdata write:appdata",
    redirect_uri: redirectUri
  })

  win.loadURL(url);

  const {session: {webRequest}} = win.webContents;

  const filter = {
    urls: [
      `${redirectUri}/*`
    ]
  };

  webRequest.onBeforeRequest(filter, async ({url}) => {
    try {
      const {code , state} = authService.extractCode(url)
      await authService.exchangeCodeForToken(code, secret, state)
      // await authService.loadTokens(url);

      await humtum.enrollInApp(envVariables.appId, (e) => {
        createAppWindow();
        destroyAuthWin();
      }).then(data => {

        if (data == null) return
        authenticateUsingAuthWindow();

      })
    } catch(error){
      console.error(error);

    };

  });

  win.on('authenticated', () => {

    destroyAuthWin();
  });

  win.on('closed', () => {
    win = null;
  });
}

function destroyAuthWin() {
  if (!win) return;
  win.close();
  win = null;
}

function createLogoutWindow() {
  return new Promise(resolve => {
    const logoutWindow = new BrowserWindow({
      show: false,
    });

    logoutWindow.loadURL(authService.getLogOutUrl());

    logoutWindow.on('ready-to-show', async () => {
      logoutWindow.close();
      await authService.logout();
      resolve();
    });
  });
}

module.exports = {
  createAuthWindow,
  createLogoutWindow,
  authenticateUsingAuthWindow
};
First, use function getPKCEURLandSecret to get the authentication url and secret. The options passed to the function needs to contain the following fields.
{
    audience: apiIdentifier,
    scope: "openid email profile offline_access read:appdata write:appdata",
    redirect_uri: redirectUri
}
Then, load the URL using the Electron window. We need to set up a filter so that the browser window can call a callback function when the Authorization Server call the callback url with the code and secret when the user authenticates successfully. This callback function should extractCode from the callback url and the exchangeCodeForToken so that our authentication service can get the access token. Once this is successful, you can use the humtum.js function to call the Humtum-platform API. In this example, we check whether the user has enrolled into our app. If she has, the app window can be launch. Otherwise, enroll the user and then reauthenticate to get the user’s permission to access her app’s data.
Once the user is authenticated and enrolled, we can start building Security Poke!
Security Poke is an application that allows friends to poke each other about a security issue. Therefore, the MVP for our app would have the following functions:
All these functions are implemented in the ./renderers folder. To be more specifically,
humtum.getFriends to get the friend listhumtum.addFriend to get send friend requesthumtum.getFriendRequests to get friend requestshumtum.approveFriendRequest and humtum.rejectFriendRequest to approve and reject friend requesthumtum.createMessage to send a poke using a predetermined format. For our apps, it is simple a string “poke”humtum.receiveMessage to notify that the user has received the pokehumtum.getMessage to get unseen pokehumtum.subscribeToChannel("MessagesChannel", ..., ... ,...) to get the poke in real time using WebSockethumtum.getSelf to get the user profileThis tutorial shows how to build Security Poke using Humtum. The full source code for our application is in https://github.com/humtum-platform/HumtumNodeExample/tree/master/security-poke